Minimalist floating shelves are dominating DIY and interior design searches this year—and for good reason. They’re stylish, space-saving, and surprisingly simple to build. Whether you’re upgrading your home office, organizing your kitchen, or adding flair to a cozy reading nook, this project delivers both form and function.
Why Floating Shelves Are Trending in 2025
• Modern aesthetic: Clean lines and open space are in. Floating shelves offer a clutter-free look that complements any room.
• DIY-friendly: With basic tools and a few boards, you can create a custom shelf in a weekend.
• Versatile use: Display plants, books, collectibles, or kitchen essentials—these shelves adapt to your lifestyle.
• Sustainable appeal: Woodworkers are embracing reclaimed and eco-friendly materials, making shelves both beautiful and responsible.
Materials & Tools You’ll Need
• Solid wood board (maple, oak, pine, or reclaimed wood)
• 3/8″ threaded rod (cut to 5–6″ lengths)
• Epoxy or construction adhesive
• Drill with 3/8″ bit
• Stud finder, level, tape measure
• Sandpaper (120–220 grit)
• Wood stain or paint
Optional upgrades:
• Router for edge detailing
• LED strip lighting for ambiance
Step-by-Step Build Guide
1. Measure your space
Decide shelf length and depth based on wall placement and intended use.
2. Cut and prep your boards
Sand edges smooth and apply your chosen finish.

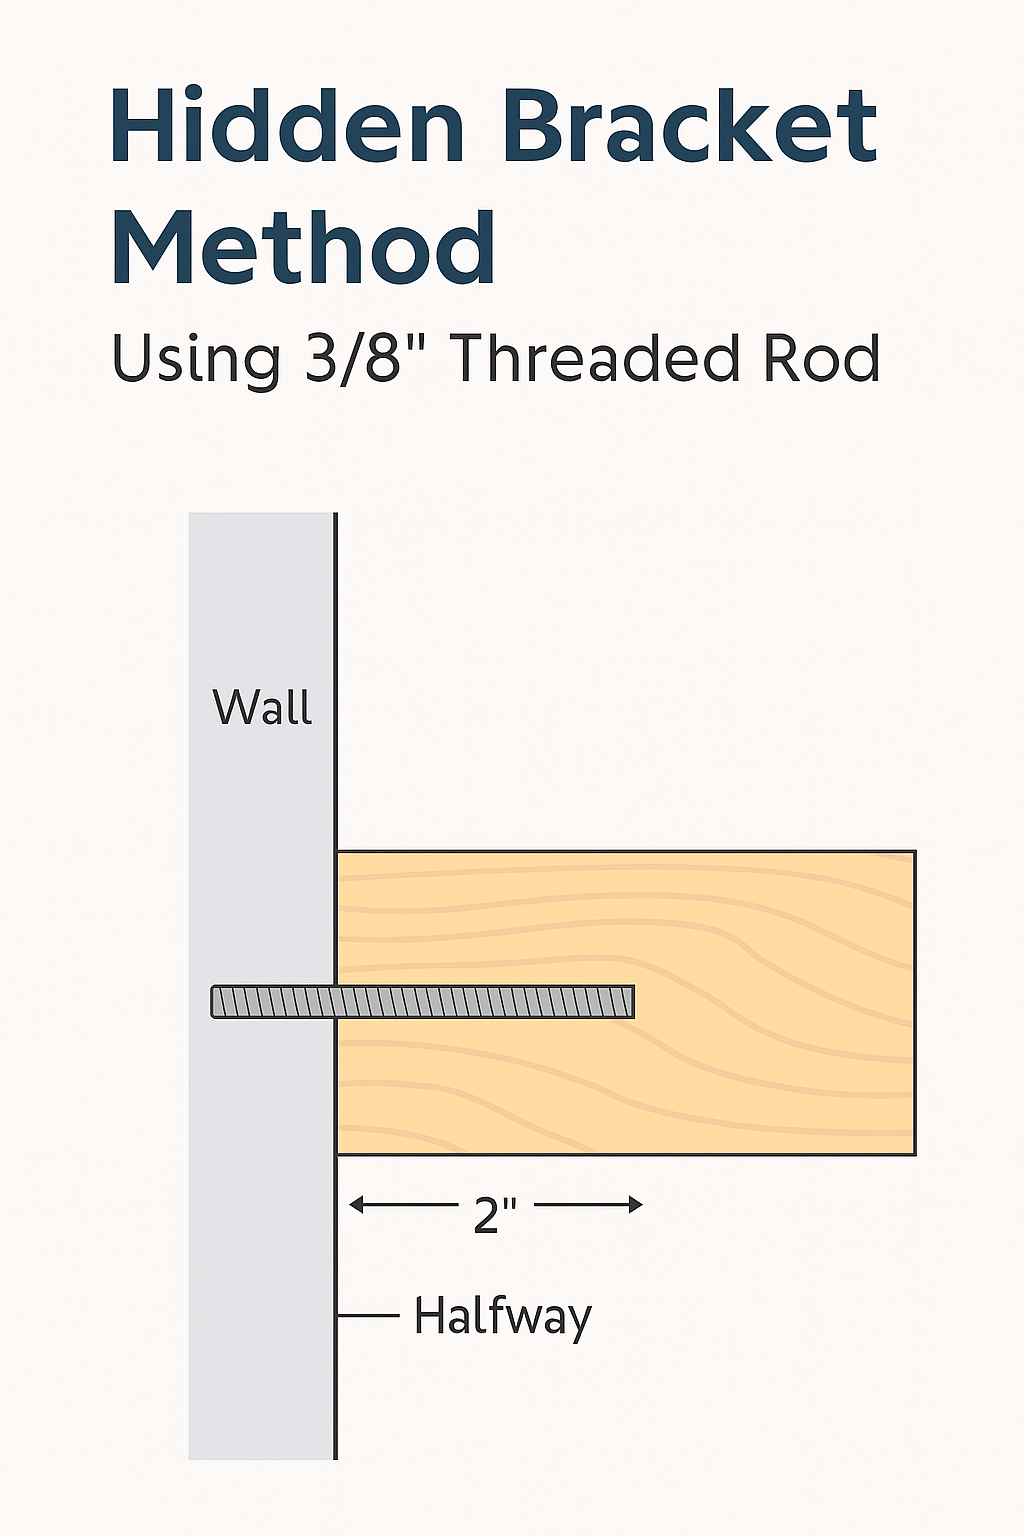
3. Drill into the wall stud
Use a 3/8″ drill bit to bore a 2″ deep hole into the stud. This anchors the rod securely.
4. Insert threaded rod
Apply epoxy and insert the rod, leaving 2.5–3″ protruding from the wall.
5. Drill matching holes in the shelf
On the back edge of the shelf, drill 3/8″ holes halfway through the board to match the rod depth.
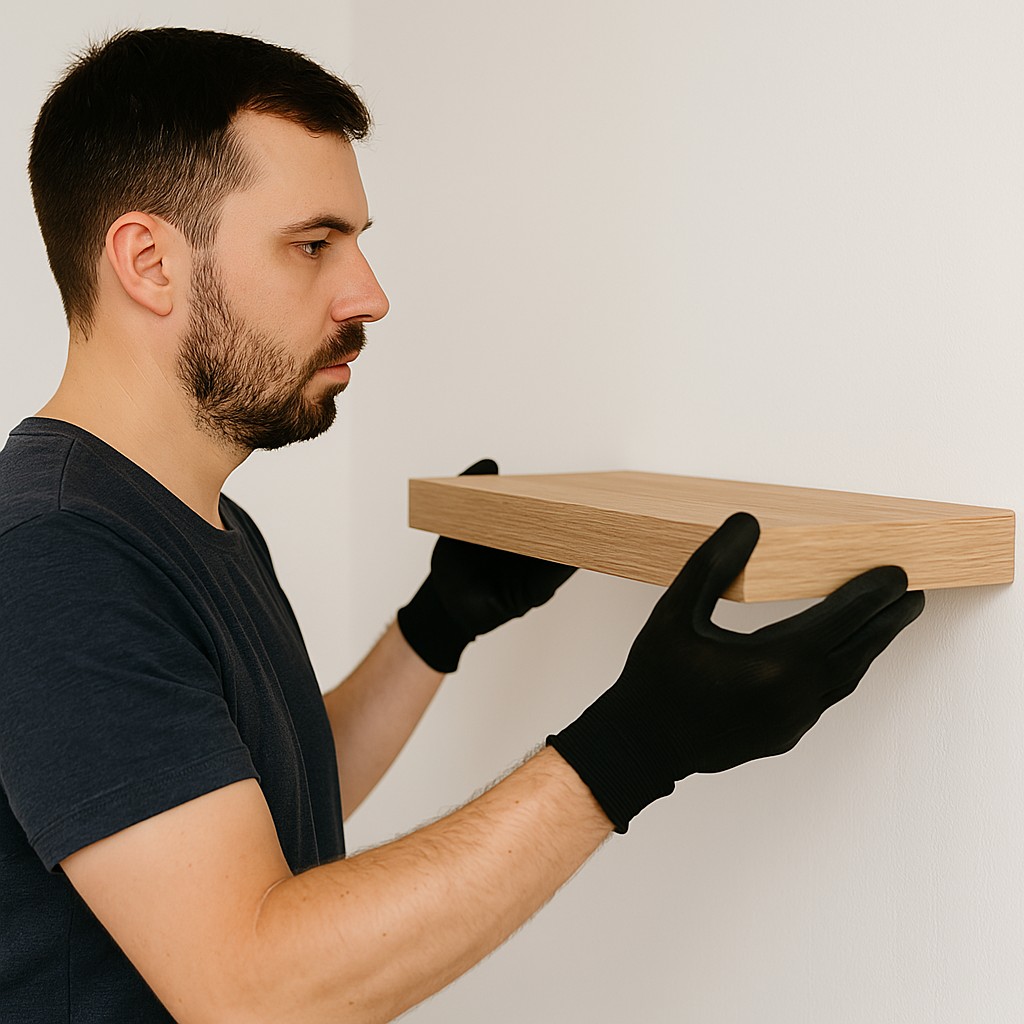
6. Mount the shelf
Slide the shelf onto the rods. Add epoxy inside the holes for extra grip. Use a level to ensure alignment.
7. Style it up
Add decor, books, or plants to bring your shelf to life.
Pro Tips from SmartWoodCrafts
• Use a router to add a subtle chamfer or round-over edge for a polished look.
• For a rustic vibe, distress the wood with chains or wire brushes before staining.
Here are some standout decorative and functional enhancements you can incorporate into your shelf builds:
1. Integrated LED Lighting
• Add recessed LED strips along the underside or back edge of the shelf.
• Use warm white or dimmable RGB lighting to create ambiance.
• Great for kitchens, reading nooks, or nighttime display zones.
• Conceal wiring inside a routed channel or behind the shelf board.
2. Mixed Materials
• Combine wood and metal for a modern industrial look.
• Use live edge slabs for a natural, organic feel.
• Try glass inserts or resin pours for artistic flair.
• Add leather strap supports for a rustic or boho vibe (even if decorative only).
3. Asymmetrical Layouts
• Stagger shelf heights or lengths for visual interest.
• Create a zigzag or cascading pattern across the wall.
• Use offset spacing to highlight specific decor pieces.
4. Corner-Mounted Shelves
• Turn unused corners into functional display zones.
• Use L-shaped or triangular boards for tight spaces.
• Great for bathrooms, hallways, or small kitchens.
5. Built-In Planter Grooves
• Route a shallow groove into the top surface to hold small succulents or herbs.
• Add a waterproof liner or use air plants for low maintenance.
• Perfect for kitchen shelves or sunlit living rooms.
6. Floating Shelf Frames
• Build a frame around the shelf to mimic a shadow box or picture ledge.
• Ideal for displaying art, photos, or collectibles.
• Adds depth and structure to minimalist designs.
Pro Styling Tip
Use neutral tones and matching containers to keep the shelf visually clean. Group items in odd numbers (3 or 5) and vary height and texture for balance.
Leave a Reply