? How to Photograph Woodworking Projects Like a Pro
Learn how to photograph woodworking projects with pro-level clarity and storytelling. This guide covers lighting, angles, editing, and setup tips for makers who want to showcase their builds online.
?Why Photographing Woodworking Projects Matters
If you’ve ever finished a build and thought, “This looks amazing—why doesn’t my photo show that?” you’re not alone. Learning how to photograph woodworking projects is a game-changer for makers, educators, and sellers alike. Whether you’re posting to Instagram, building a blog, or listing on Etsy, strong visuals help your work stand out and tell a story.
In this guide, you’ll learn how to photograph woodworking projects with confidence—from lighting and angles to editing and storytelling. No fancy gear required—just a clear eye and a few smart techniques.
?Set the Scene Before You Photograph Wood- working Projects
• Clear clutter from your background—tools, scraps, and distractions.
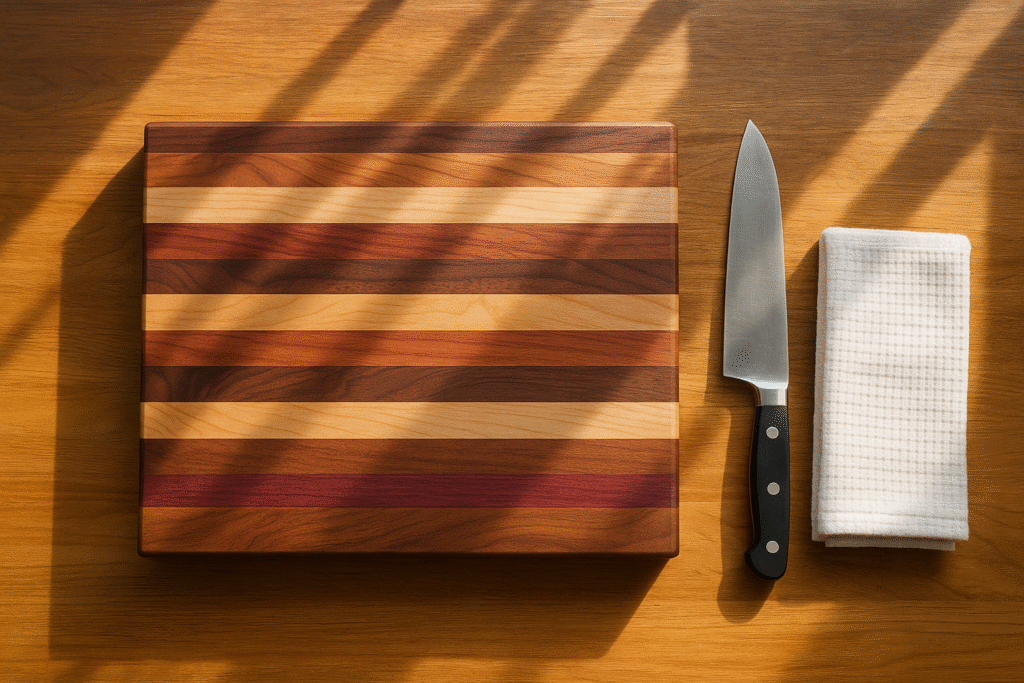
• Use natural light near a window or open door for warmth and realism.
• Add subtle props like a folded apron or pencil to suggest process.
?Use Lighting That Highlights Your Woodworking Projects
• Soft, indirect light brings out wood grain and craftsmanship.
• Bounce light with a white foam board to fill shadows.
• Avoid harsh overhead fluorescents—they flatten texture and color.
?Choose Angles That Showcase Your Woodworking Projects

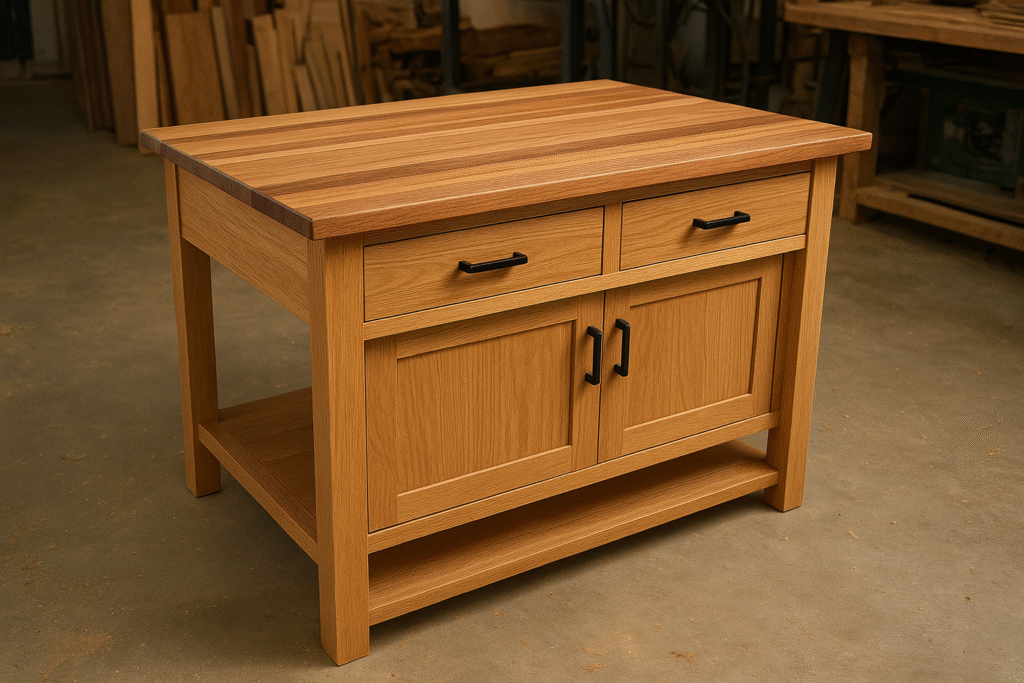
• Eye-level shots work best for furniture; top-down for flat builds.

• A 45° angle adds depth and dimension.

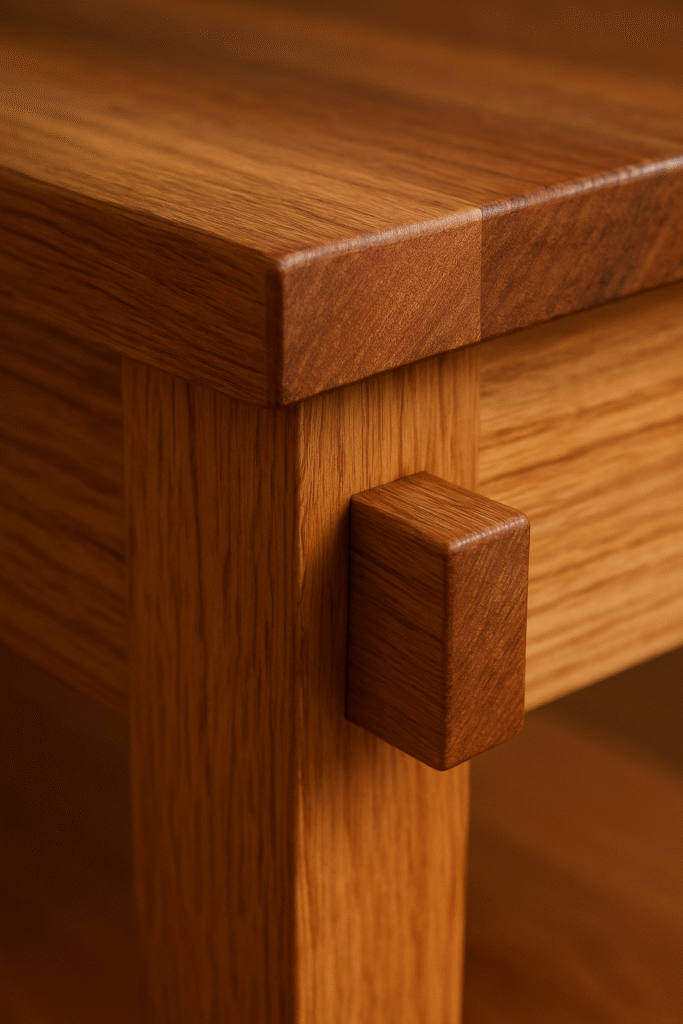
• Include close-ups of joinery, finishes, or tool marks to highlight detail.
?Tell a Story When You Photograph Woodworking Projects
• Include hands, tools, or in-progress shots to show the build journey.
• Use before-and-after photos to highlight transformation.
• Add captions that teach, inspire, or explain your process.
?Edit Your Woodworking Photos Without Losing Authenticity
• Use free apps like Snapseed or Lightroom Mobile.
• Adjust brightness, contrast, and sharpness—skip heavy filters.
• Crop to focus on the build, not the clutter.
? Conclusion: Photographing Woodworking Projects Builds Connection
Your photo isn’t just proof—it’s an invitation. It says, “Here’s what I made, and here’s how you can make it too.” By learning how to photograph woodworking projects with intention, you elevate your craft and connect with your audience. So take the extra minute to frame it right. Your future readers—and fellow makers—will thank you.
Leave a Reply