PLEASE READ THE AFFILIATE POLICY ALSO WITH THIS POST
Creating your own outdoor fall lanterns? Yup, it’s way more than just a crafty weekend project. It’s a chance to blend creativity with functionality and bring a cozy, personalized touch to your outdoor space as the crisp autumn air rolls in. Plus, who doesn’t love a bit of homemade charm lighting up the evening?
By making your own lanterns, you’re not just decorating; you’re crafting an experience. Whether you’re planning a relaxed evening out with friends or setting up for a festive Halloween night, your lanterns can set the perfect mood. It’s amazing how a well-crafted lantern can transform a space, offering not just light, but warmth and personality to your patio or garden.
Diving into this project also lets you express your unique style. From selecting the materials to choosing the colors and themes that highlight the fall vibe, each step lets you sprinkle your creativity all over it. And let’s be real—who doesn’t want a porch that feels as welcoming and snuggly as a favorite sweater?
If you’re wondering about aesthetics, think along the lines of rustic elegance or delightful whimsy—basically, whatever strings your stitches. Consider incorporating seasonal motifs like leaves or pumpkins. Trust me, it’s that perfect fusion of personal taste and seasonal flair that makes your lanterns not just operate as light sources, but as incredible conversation starters.
Gathering Your Materials: What You Need to Get Started

Getting started on your lantern adventure means rounding up the right materials. And don’t sweat it if you’re on a budget—many items you need might already be lying around the house. Glass jars, like those empty pickle jars you kept for a rainy day, can be perfect homes for your lanterns.
It’s always a good idea to have some classic crafting essentials on hand—think hot glue guns, scissors, and twine. These are key for putting everything together without a hitch. To really bring it to life, grab some small, but mighty lighting options like LEDs, candles or string lights. They’re a safe bet for illuminating your creation.
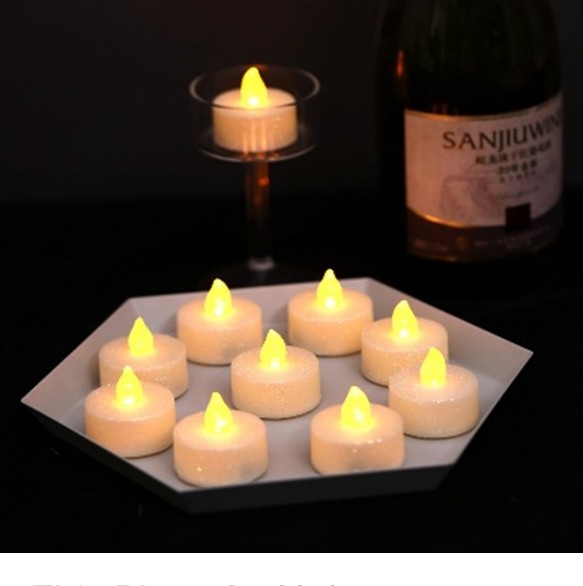

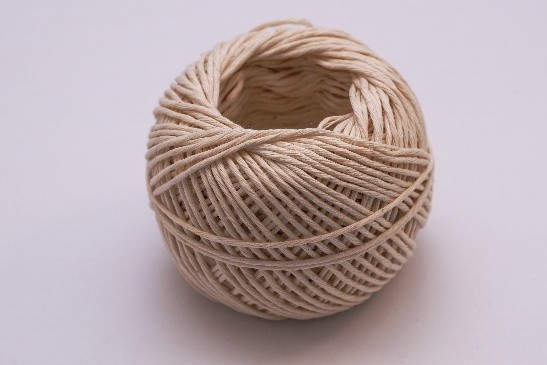

Eco-conscious? There are plenty of eco-friendly materials to consider. For instance, opt for biodegradable twine over synthetic ropes or choose soy-based candles. It’s these choices that can make your lanterns not only stylish but also kind to the planet.
No need to break the bank here. Thrift stores or online local marketplaces can be gold mines for sourcing unique or upcycled materials. Sometimes you find hidden gems that give your lanterns that extra wow factor.
For those looking to save, even more, check out dollar stores in your area. They’ve got loads of crafting jewels. Who’s to say a 50-cent glass jar can’t be the star of your masterpiece?
Design Inspiration: Choosing the Right Style
Choosing the perfect design for your fall lanterns is all about reflecting your personal flair and bringing out those autumn vibes. Think about what style speaks to you. Are you all about that rustic charm, or do sleek and modern lines get your creative juices flowing? Mixing the old with the new can give your lantern a trendy edge.
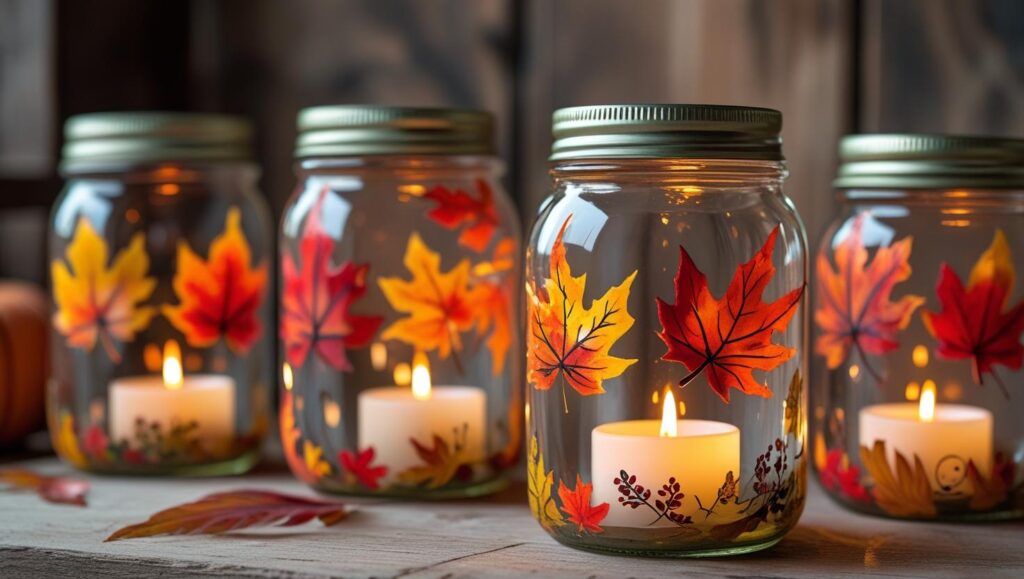
Tapping into popular fall themes can make this creative process easier and more exciting. Consider elements like autumn leaves, warm hues of orange and gold, pumpkins, or even spooky Halloween spirits if you’re feeling festive. These themes can be simple or elaborate, but they all have one goal: to celebrate the season’s essence.
One of the fantastic things about DIY is the chance to infuse your personality into every detail. Maybe you’re more about minimalist elegance, opting for clear glass and subtle lighting. Or perhaps you thrive in vibrant colors and bold patterns that make your lantern pop! Whatever you choose, make sure it resonates with what makes you feel at home.
Don’t forget the power of personalization. Integrating personal touches like engraved initials, small family mementos, or even a motif that tells your story can turn a simple lantern into a cherished keepsake.
If you need a nudge in the right direction, online platforms like Pinterest or craft blogs can provide a wealth of ideas. They’ll show you how to spin your imagination into reality with step-by-step projects and inspiring galleries.
Designing your lantern is about playing with elements. The trick is finding that balance between over-the-top and understated charm that feels just right for your space.
Step-by-Step Guide: Crafting Your Lantern Structure
Crafting the structure of your fall lantern is where the magic begins, and it’s easier than you might think. Start with your base—a sturdy foundation is key. Glass jars or bottles work wonderfully here, especially if you’ve been accumulating a collection.
Grab your crafted essentials like a trusty hot glue gun and some strong twine or wire to secure your components. If you’re using a jar, first ensure that it’s clean and dry before assembling your masterpiece.
Begin by mapping out what goes where. A sketch can help visualize your plan. Decide on any patterns or textures you might want on the glass. Stencils or painter’s tape can keep things neat if you’re painting, while leaves and lace can add texture.
Next, attach any decorative elements that won’t interfere with your lighting. This might be a good time to add that personal embellishment—names, initials, or a funky pattern that’s uniquely you.
It’s crucial to guarantee your structure’s stability, particularly if your lanterns are battling the elements outside. Consider adding a base weight or securing them tightly on level surfaces.
For visual guidance, instructional videos or infographics are invaluable. They provide a point of reference and can make following these steps feel less daunting. Think of them as your craft buddies.
Enjoy the building process—it’s your chance to see your ideas take physical form, and there’s something super satisfying about that first completed lantern glowing just the way you imagined.
Personalizing Your Lantern: Adding Décor and Flair
Personal touches are what transform your lantern from a simple project into a delightful piece of art. Adding décor to your lantern is like giving it its unique character. This is where creativity takes the wheel.
Start by choosing a color palette that matches your space or seasonal décor. Autumn naturally invites warm tones like deep reds, russets, and golden yellows. If you’re painting, acrylic paints are great for their vibrant finish and easy application. Consider using stencils for neat patterns or designs.
Beyond color, think about texture and small decorative elements. Natural items, like dried leaves or pinecones, attached with clear adhesive, can give an earthy, organic feel. For a touch of elegance, a bit of lace or ribbon can go a long way. Even simple twine wrapped artfully can add a rustic charm.

Remember that personalization can go beyond just the visuals. If your lanterns will hold a special place in family events, consider incorporating elements that reflect your family’s story or shared memories.
The goal here is to let your creativity shine, so trust your instinct and don’t shy away from trying something new—every added detail shares a little bit more of your story and character with all who see it.
Lighting Your Lantern: Options for the Perfect Glow
Lighting is the heart of your lantern, bringing it to life with warmth and ambiance. The good news? There’s a boatload of options to choose from, so you can get just the right vibe for your outdoor nights.
Electric candles are a popular choice—practical and safe, they mimic the flickering glow of real flames without the fire hazard. Battery-operated and remote-controlled ones mean you don’t even have to get up off your cozy outdoor recliner to turn them on.
If you’re craving the authenticity of real flames, tea lights or pillar candles can still be an option, just remember to keep safety first. Always ensure they’re placed securely and away from anything flammable. Lanterns made from heat-resistant glass are a smart choice here.

Check for the lighting’s weather resistance if they’ll be out in the elements. Many LED options are weatherproof, making them a robust choice if you’re in an area prone to unexpected weather shifts.
It’s not just about lighting up the space; it’s about creating an experience, whether it’s a mellow glow for intimate gatherings or a bright beacon for lively evenings. Think about what atmosphere you want to create and let that guide your lighting choice.
Weatherproofing: Ensuring Longevity in Harsh Conditions
Making sure your lanterns survive the great outdoors means thinking about weatherproofing. No one wants their hard work ruined by a sudden rainstorm or a gusty autumn breeze.
Sealants are your best friend here. A clear, outdoor-grade varnish or sealant can create a protective barrier over your paint and embellishments, shielding them from water and sun damage. Just a few coats, and your lanterns will be ready to brave the elements.
Look for materials labeled specifically for outdoor use. These products often fare better against the unpredictable weather, maintaining their look and structure longer than regular indoor materials.
Heat resistance is another key aspect, particularly if you’re using real candles. Opt for glass that can withstand higher temperatures and consider placing your lanterns in sheltered spots to protect them from strong winds.
Regular checks and a little maintenance go a long way. After a storm or particularly damp night, check your lanterns for any signs of wear or moisture build-up, and touch up the sealant as needed to keep them looking their best.
Investing a bit of effort into weatherproofing from the start not only keeps your lanterns shining brightly season after season but also means you can enjoy their beauty without constantly worrying about Mother Nature’s surprises.
Displaying Your Lanterns: Arranging for Maximum Impact
Getting your lanterns out into the world is part of the joy of this project. Placement can really make a difference, not just in visibility, but in vibe! Think about spots where they can shine, both literally and figuratively.
Porches and patios are naturals. Arrange lanterns along the edges or steps, where they guide guests like gentle beacons. Group them in varied heights for a layered effect that’s pleasing to the eye.
Garden paths can also use the glow. Scatter lanterns along the way to create a dreamy walkway, adding an inviting touch to evening strolls. Groupings of three or five can form focal points that draw the eye and encourage a slow, savoring pace.
Consider the lanterns’ surrounding decor. They should complement what’s already there—planters, outdoor furniture, or seasonal decorations like pumpkins or autumn garlands—they all play a part in making your outdoor space feel cohesive.
Seasonal setups are fun to mix around. As Halloween approaches, slip in some spooky details like mini skulls or webs. Switch them out later for warm, harvest themes to carry you through Thanksgiving.
The key is balance and harmony. You want your lanterns to enhance space without overwhelming it. A well-placed lantern can bring corners to life or create a welcoming centerpiece on outdoor tables. Their gentle light makes people feel right at home.
Troubleshooting Common DIY Lantern Issues
Even with the best plans, DIY projects can hit a snag. When it comes to lanterns, a few common hiccups might appear along the way, but no stress—I’ve got some tips to tackle them.
One problem could be structural weaknesses, like a wobbling lantern. Double-check your adhesives and make sure everything is secured tightly. Sometimes a little reinforcement with extra glue or a strategic piece of wire can stabilize things nicely.
Lighting hiccups happen, too. If the LED isn’t lighting up, swap out the batteries. Always ensure connections are snug, especially if you’re using fairy lights. If using real candles, check that they’re not drowning in wax buildup, which can sometimes happen with repeated use.
If the decorations aren’t sticking quite right, ensure surfaces are clean and dry before applying embellishments. Adding a bit more adhesive or using a stronger glue can make a world of difference.
Don’t forget, sometimes the elements themselves are to blame—a heavy rain or unexpected wind can take its toll. Secure any loose elements and, if needed, bring the lanterns inside during particularly harsh weather.
Regular upkeep, like checking seals and stickers, keeps your lanterns in top form. Small touch-ups can extend their life, allowing you to enjoy their glow throughout the season.
Troubleshooting is just part of the process. Every little fix enhances the lantern’s charm and resilience, so embrace the learning curve – it’s all part of mastering the craft.
Leave a Reply